Photographs are terrible documents. They arrive as a scatter of files with camera-generated names, they open in an image viewer rather than a reader, and no upload form has ever been pleased to receive eleven of them. Turning them into a PDF fixes all three problems at once: one file, in order, that opens the same way everywhere.
This covers how Pixpoo builds that PDF, which of the settings actually change the result, and the one option that quietly re-encodes your photographs.
Convert JPG to PDF nowArrange, set the page, download. Free, no sign-up, nothing uploaded.Open JPG to PDF →
Order first, everything else after

Each image becomes one page, in the order shown on screen. Drag thumbnails to rearrange, or sort by name or date when the filenames already encode the sequence — which, for anything straight off a camera or phone, they usually do.
It is worth thirty seconds of attention, because fixing the order afterwards means going to Organize PDF and doing the same work against thumbnails that all look alike. You can also insert blank pages between images, which is useful when the set is really several documents that want a visible break.
Page size, and the option most people miss
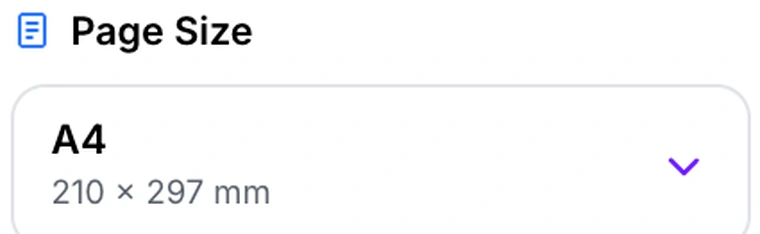
A4, Letter, Legal, A3 and A5 all place your image onto a standard sheet. The interesting one is Fit to image, which makes each page exactly the dimensions of the picture on it. No white borders, no letterboxing, and a document whose pages are as varied as the photographs that made them.
Which you want depends on the destination:
| Going to | Choose |
|---|---|
| A printer, or a form that expects paper sizes | A4 or Letter |
| Screen reading, a portfolio, a photo set | Fit to image |
| A mixture of portrait and landscape shots | Fit to image, or a fixed size with Fit |
One catch worth knowing: margins still apply when you pick Fit to image, so a Normal margin will shrink the picture inside a page the size of the picture. If you chose Fit to image because you wanted edge-to-edge, set the margin to None as well.
The four fit modes
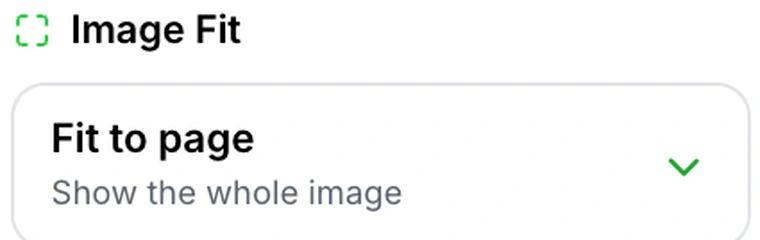
These decide what happens when the picture and the page are different shapes — which is almost always, since a 3:2 photograph does not match A4.
- Fit page scales the image until it fits entirely inside the margins. Nothing is lost, and you get white space on two sides. This is the sensible default.
- Fill page scales until the image covers the whole area, so the overhanging edges run past the page and are cut off. Good for a cover or a full-bleed look; bad when something important is near an edge.
- Actual size places the image at its own pixel dimensions read as points. A 3000-pixel photograph is far wider than an A4 page at 595 points, so this usually overflows dramatically. It is for small images you want at a specific physical size, not for camera output.
- Stretch forces the image to the page shape and distorts it. There is no good reason to use this on a photograph of a person.
High quality: what the toggle really controls
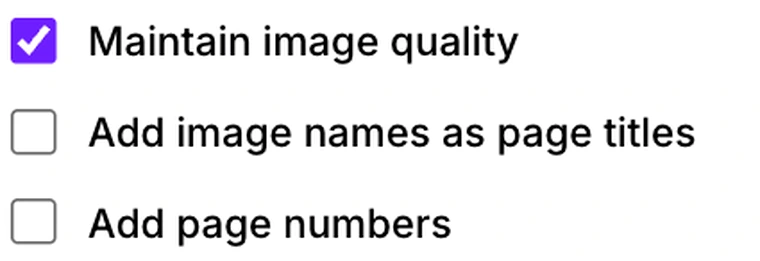
This is the setting with the largest effect on the finished file, and its behaviour is more interesting than a quality slider.
With high quality on — the default — a JPG file is embedded into the PDF exactly as it is. Not re-compressed, not re-encoded, not touched. The pixels in your PDF are bit-identical to the pixels in your photograph. Anything that is not already a JPG or PNG gets converted, capped at 4200 pixels on the long side.
With it off, every image is re-encoded to JPEG at up to 2000 pixels and moderate quality. That is a real reduction — often a large one for phone photographs — and a real loss. It is the right choice when the PDF has to clear an attachment limit and the images are documents rather than photographs.
If you want both fidelity and a small file, leave this on and run the result through Compress PDF, where you can see the size estimate before committing.
Titles and page numbers
Two checkboxes add text to each page: the image filename across the top, and a page number at the bottom. Both are genuinely useful for scanned paperwork, where knowing which file a page came from saves a lot of cross-referencing later.
One limitation to plan around: titles are drawn in a standard font that only covers basic Latin characters, so accents and non-Latin scripts in a filename come out as question marks. If your filenames carry them, rename before converting or leave titles off.
Turn your photos into a documentAny number of images, arranged how you like.Open JPG to PDF →
Getting a better result
Photograph documents squarely
The most common use of this tool is photographing paperwork. Shoot from directly above rather than at an angle, in even light, with the page filling the frame. Nothing downstream can undo a skewed, shadowed photograph — and a straight one also gives OCR PDF a chance to make the result searchable afterwards.
Sort by name when the camera named them
Sequential filenames are already in shooting order. Sorting by name is one click and gets it right more reliably than dragging twenty thumbnails.
Crop before converting, not after
Trimming a photograph in Crop Image first removes the desk, the fingers and the shadow, and the PDF that results is smaller and tidier. Cropping a page inside a PDF is far more awkward.
Match the page size to what happens next
If a form expects A4, give it A4. If the PDF is a portfolio nobody will print, Fit to image with no margin looks considerably better than pictures floating in white rectangles.
Compress at the end, once
Twenty phone photographs make a heavy PDF, and that is expected — the tool is a container, not a compressor. One pass through Compress PDF at the end beats degrading each image on the way in.
What it will not do
- It does not add a text layer — a photograph of text stays a photograph until you run OCR.
- It does not straighten or de-skew — a tilted photo makes a tilted page.
- It does not compress by default — the PDF weighs roughly what the images weighed.
- It cannot render non-Latin characters in page titles.
Common questions
How many images can I convert at once?
There is no fixed cap here. The practical limit is your device’s memory, since the work happens on your own machine — a few dozen photographs is unremarkable, several hundred high-resolution ones will be slow on a phone.
Will the photos lose quality?
Not with high quality on: JPG files are embedded untouched, so the image data in the PDF is identical to the file you added. Turning it off re-encodes everything, which is the point of the option.
Are my photos uploaded?
No. The PDF is assembled inside your browser using your own machine. Nothing is transmitted, which matters when the photographs are of documents rather than holidays.
Can I mix portrait and landscape images?
Yes. With Fit to image every page takes the shape of its picture. With a fixed page size, Fit page centres each image and leaves white space where the shapes disagree.
Why is my PDF so large?
Because it contains your photographs at full quality. A modern phone image is several megabytes on its own, and twenty of them is exactly what you would expect. Compress afterwards if it matters.
Can I add images to a PDF I already have?
Convert the images here, then combine the two files with Merge PDF.
The rest of the PDF toolkit
- PNG to PDFThe same job for screenshots and graphics, with transparency to think about.
- PDF to JPGThe return trip, when someone wants pictures rather than a document.
- OCR PDFMake photographed paperwork searchable.
- Compress PDFBring a photo-heavy document under an attachment limit.
- Crop ImageTrim the desk out of the shot before you convert.