Resizing an image sounds like one decision — how big? — but there are three different ways to say it, and a handful of settings that decide what the file you get back actually weighs. This is the whole tool, explained, with the numbers we measured rather than the ones we assumed.
Open the Resize Image tool — free, no sign-up, no watermark.
Resize, compress, crop: three different things
Resizing changes how many pixels an image is made of. That is a different thing from compressing it, which keeps the pixel count and spends fewer bytes describing them — and different again from cropping, which throws away part of the picture. Resizing keeps the whole frame and redraws it at a new size.
Most of the time you are resizing because something at the other end has a rule: an upload form that caps dimensions, a social platform with a fixed canvas, a page that loads slowly because a 4000-pixel photo is being squeezed into a 600-pixel slot.
A resize is a one-way change to the copy you download. The pixels taken out are not recoverable from it, and scaling that copy back up later will only produce a softer version of the smaller picture — so keep your original.
Step 1: add your image
Drag a file in, or click to browse. The tool reads it, measures it and uploads it, and the progress ring reports which of those is happening rather than running on a timer.
 The number is real — bytes read off disk, then bytes sent — so it never sits at 99% waiting for something.
Accepted formats are JPG, PNG, WebP, AVIF, GIF and TIFF, up to 25 MB.
Step 2: choose a size
Three tabs across the top decide what the width and height mean. Everything about the file itself — format, quality, size limit, metadata — sits under Advanced options below them.
 Pick the tab first — switching resets the size mode.
Custom Size
Takes a width and a height in pixels, and opens selected. With Keep aspect ratio ticked, typing in one box recalculates the other from the original proportions. A Units dropdown switches the two boxes between pixels and percent.
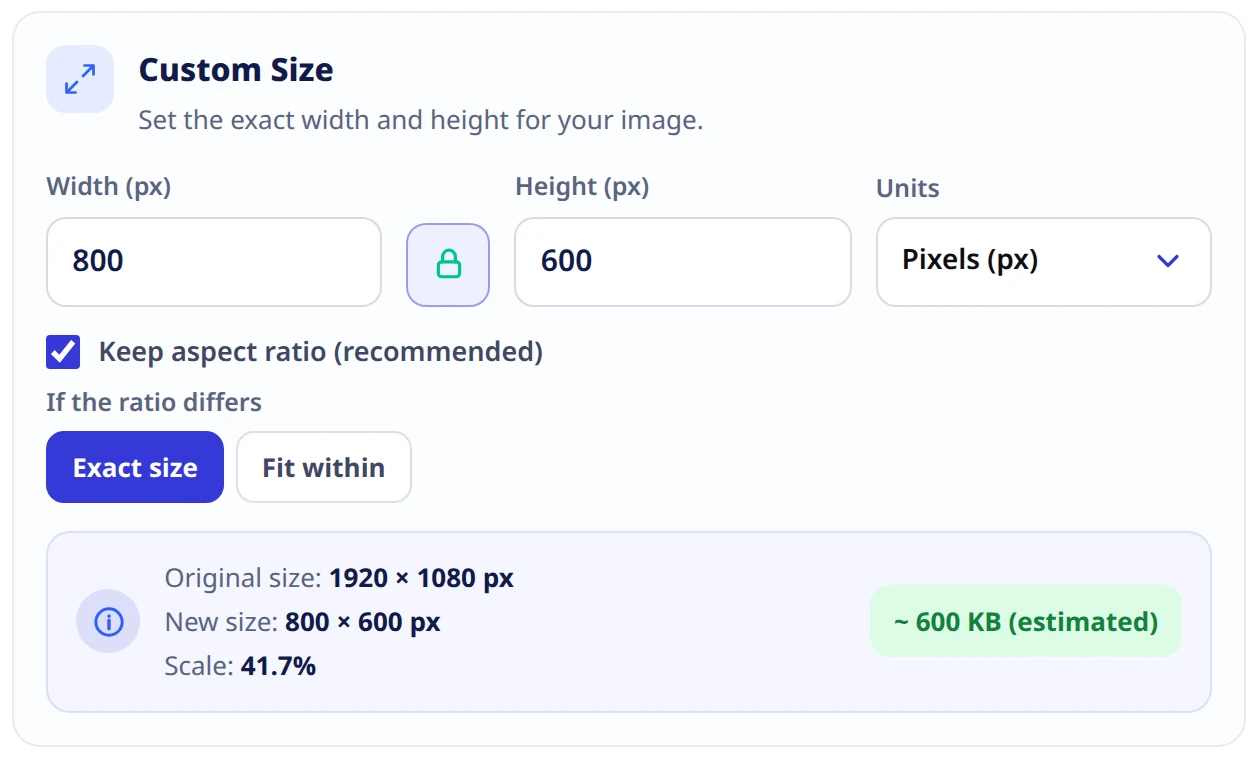 The strip underneath is the quickest sanity check: if the scale reads over 100%, you are enlarging.
That strip reports the original size, the size you have asked for and the scale between them, with an estimate of the file that will come back. The estimate is derived from the pixel count and the quality, so treat it as a guide — the real figure is on the download screen.
Preset Sizes
Eight one-tap sizes that fill in the width and height for you.
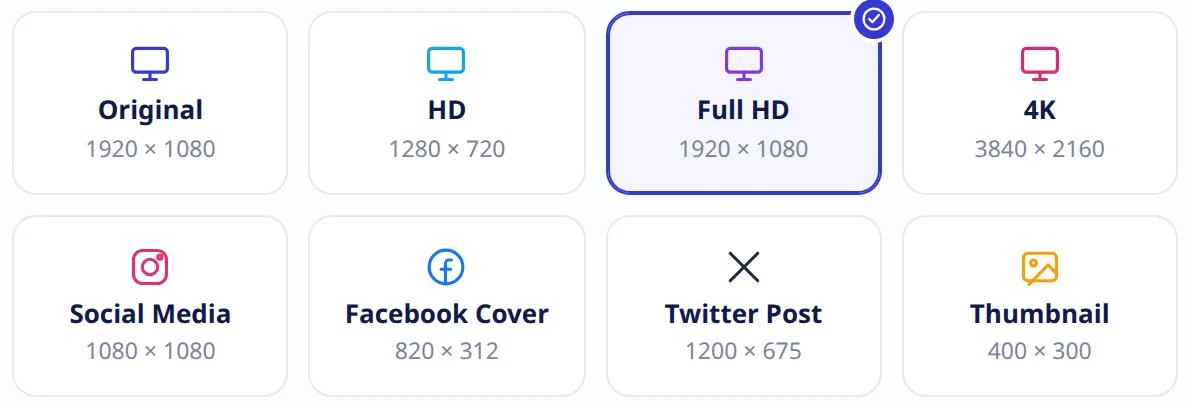
| Original | Whatever the file already is |
| HD | 1280 × 720 |
| Full HD | 1920 × 1080 |
| 4K | 3840 × 2160 |
| Social Media | 1080 × 1080 |
| Facebook Cover | 820 × 312 |
| Twitter Post | 1200 × 675 |
| Thumbnail | 400 × 300 |
A Custom Size block underneath lets you adjust the numbers a preset put there. Presets set the numbers only — the Exact size or Fit within choice still decides what happens to the shape.
Percentage
Scales the original by a factor rather than a pixel size: tiles for quarter, half, three quarter, original, 1.5× and 2×, plus a box for any figure from 1 to 400. The resulting pixel dimensions are shown as you change it.
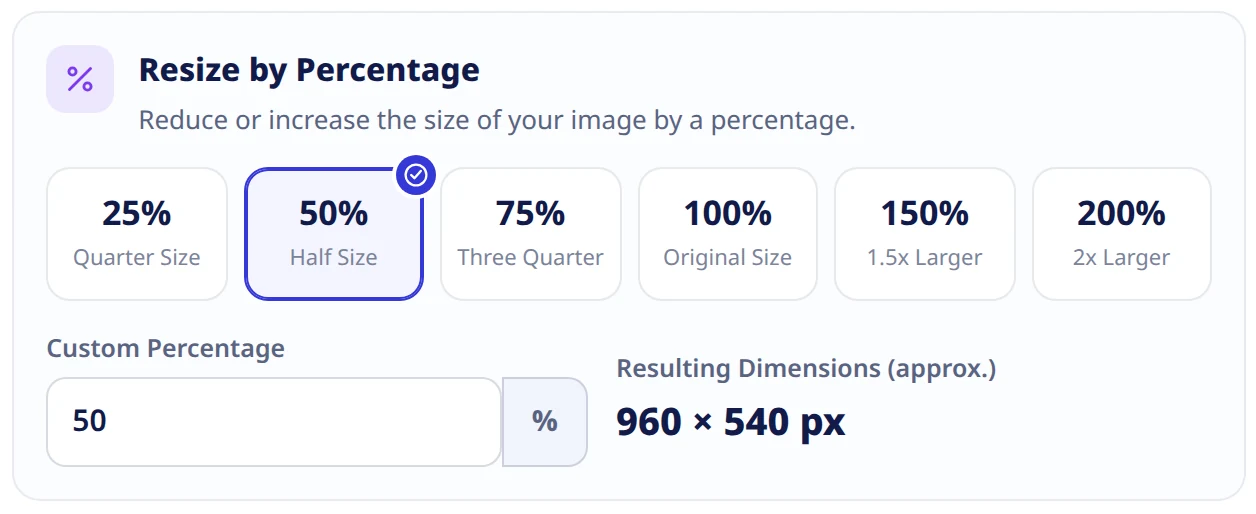 The tab to reach for with a batch of mixed sizes, where “half” means something and “1200 wide” does not.
Exact size or Fit within
Under the aspect-ratio checkbox sits a two-button choice that decides what happens when your numbers have a different shape to the picture.
- Exact size fills the box you named, whatever that does to the proportions.
- Fit within treats the numbers as a ceiling and scales the image down until it sits inside them, keeping its shape.
Reach for Fit within whenever you have a limit rather than a target — “no bigger than 1200 on the long side”. Use Exact size when the frame matters more than the proportions, such as a platform canvas.
With Keep aspect ratio ticked the two behave the same, because the numbers already share the original shape. The choice starts to matter the moment you unlock it, or take a preset with a different ratio to your photo. We put a 3000×2000 photo into a 1200×1200 box: under Exact size it came back 1200×1200 and distorted, which is the point of that mode; under Fit within it came back 1200×800 and undistorted.
Watching the size before you commit
The preview on the left is not decoration. The arrows along its edges label the size you have asked for, and they change as you type, so you can see a 1200×1200 request squaring off a landscape photo before you process anything. The strip along the bottom reports the file you loaded.
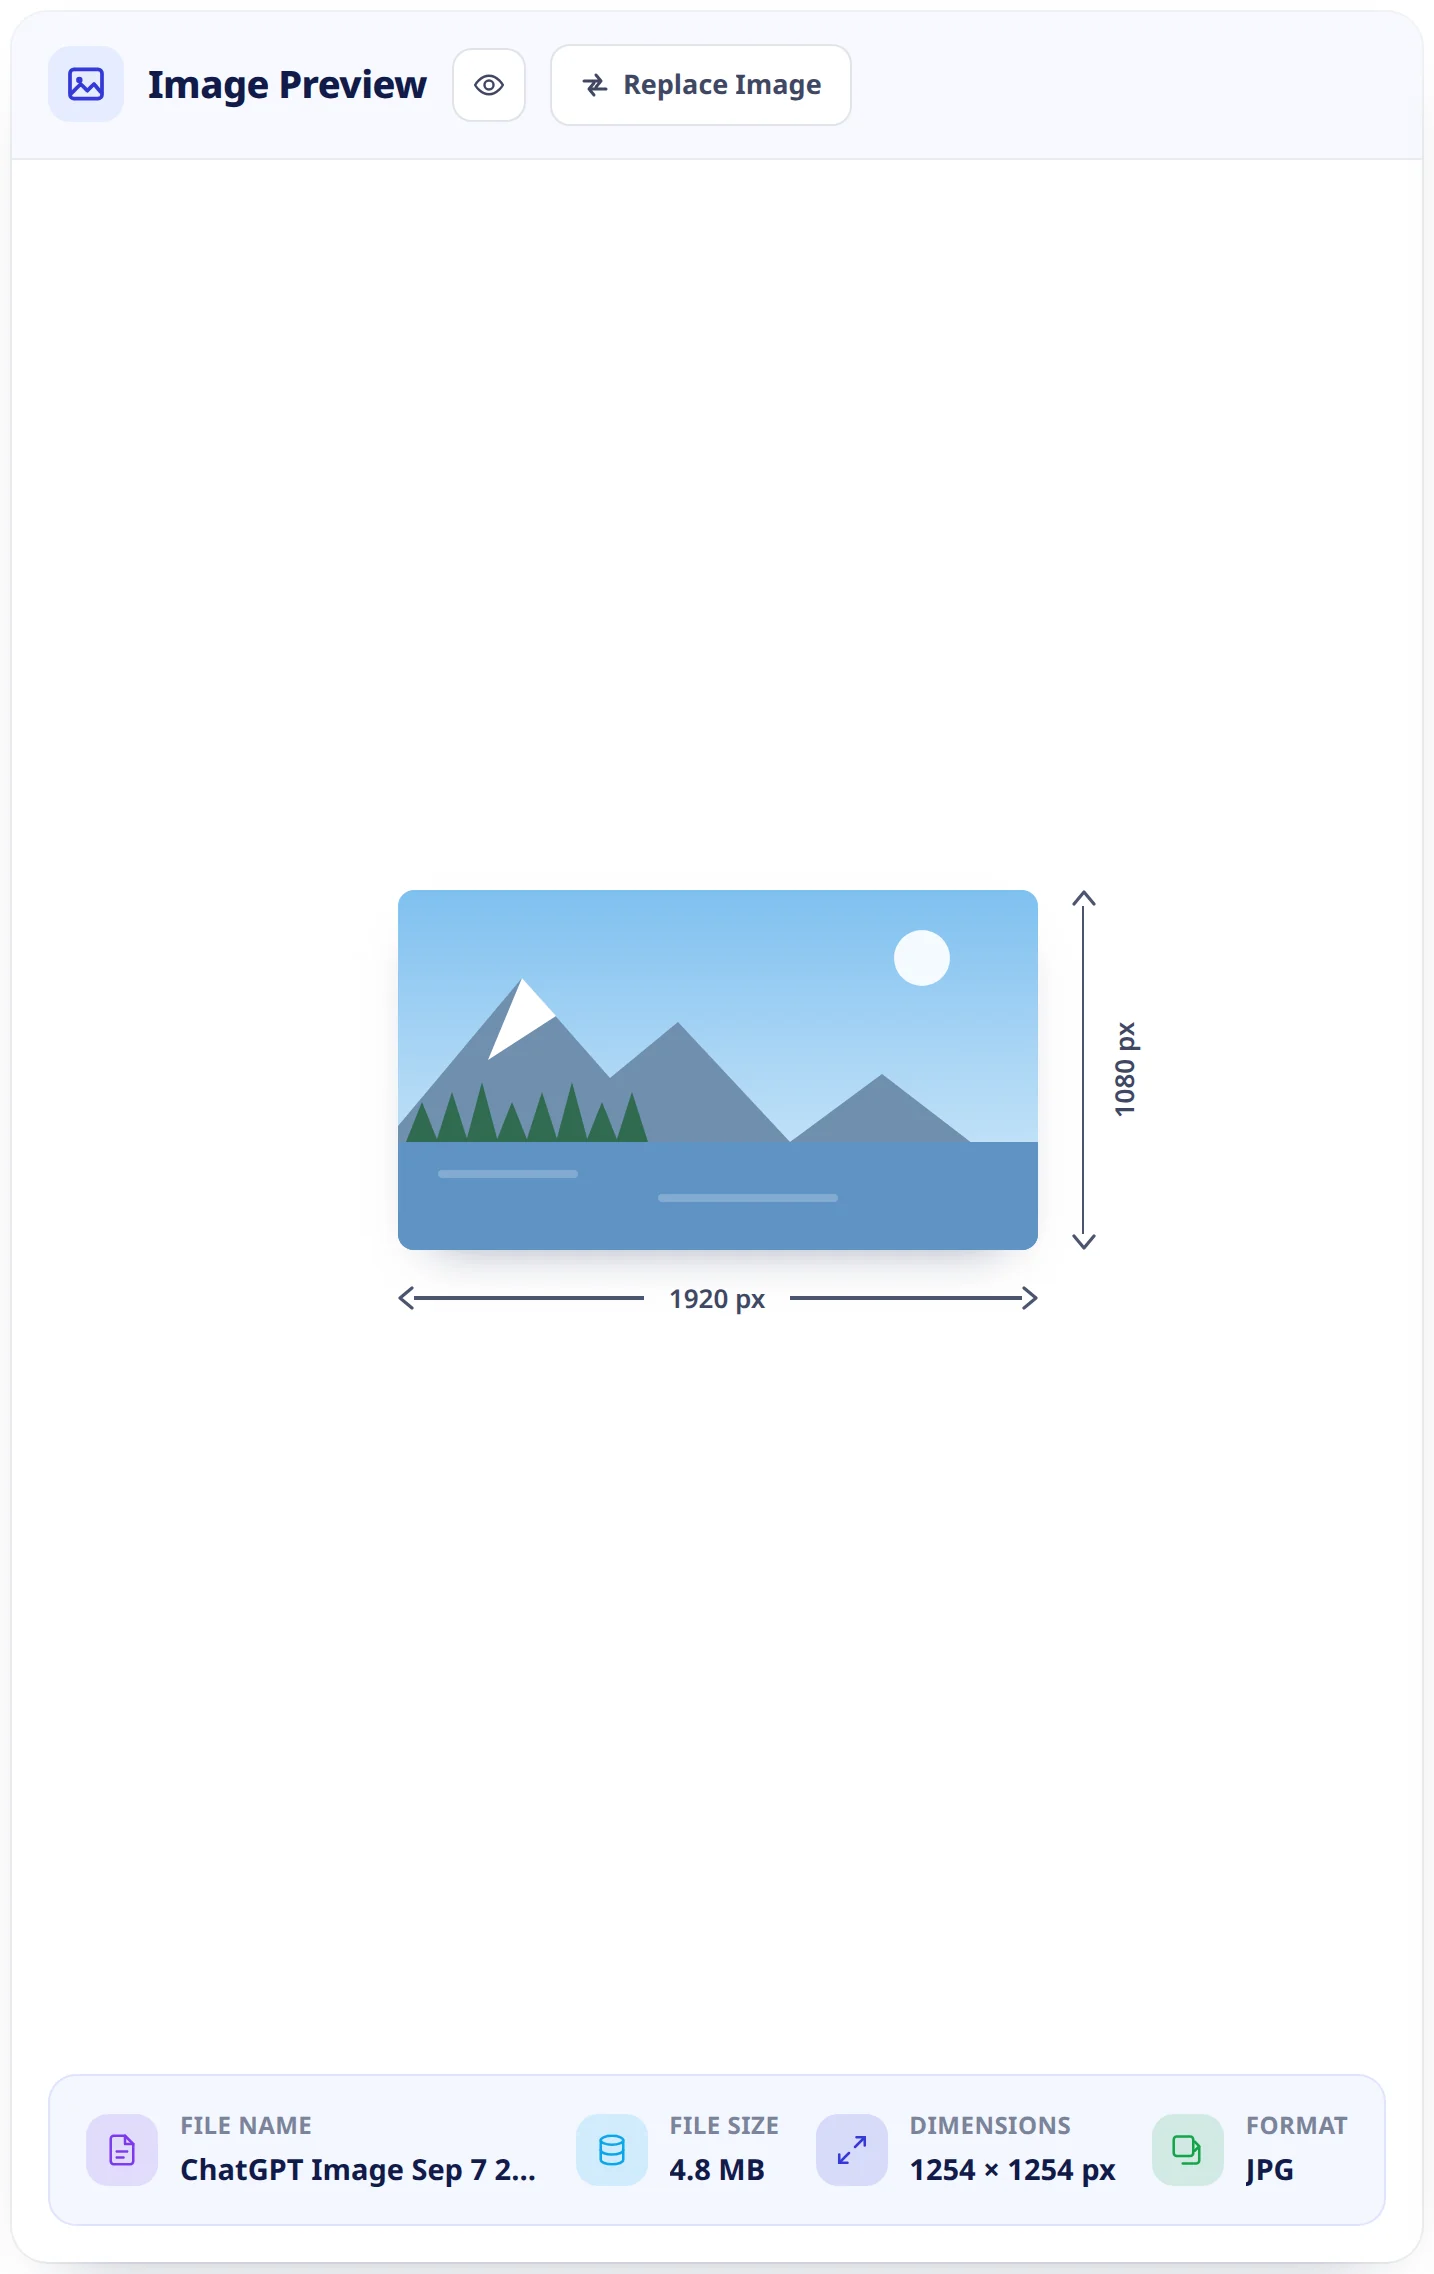 The eye button opens the picture at full size; Replace Image swaps the file without losing your settings.
Advanced options
Folded away by default, because most resizes are only about size. Everything that decides what the file weighs lives here.
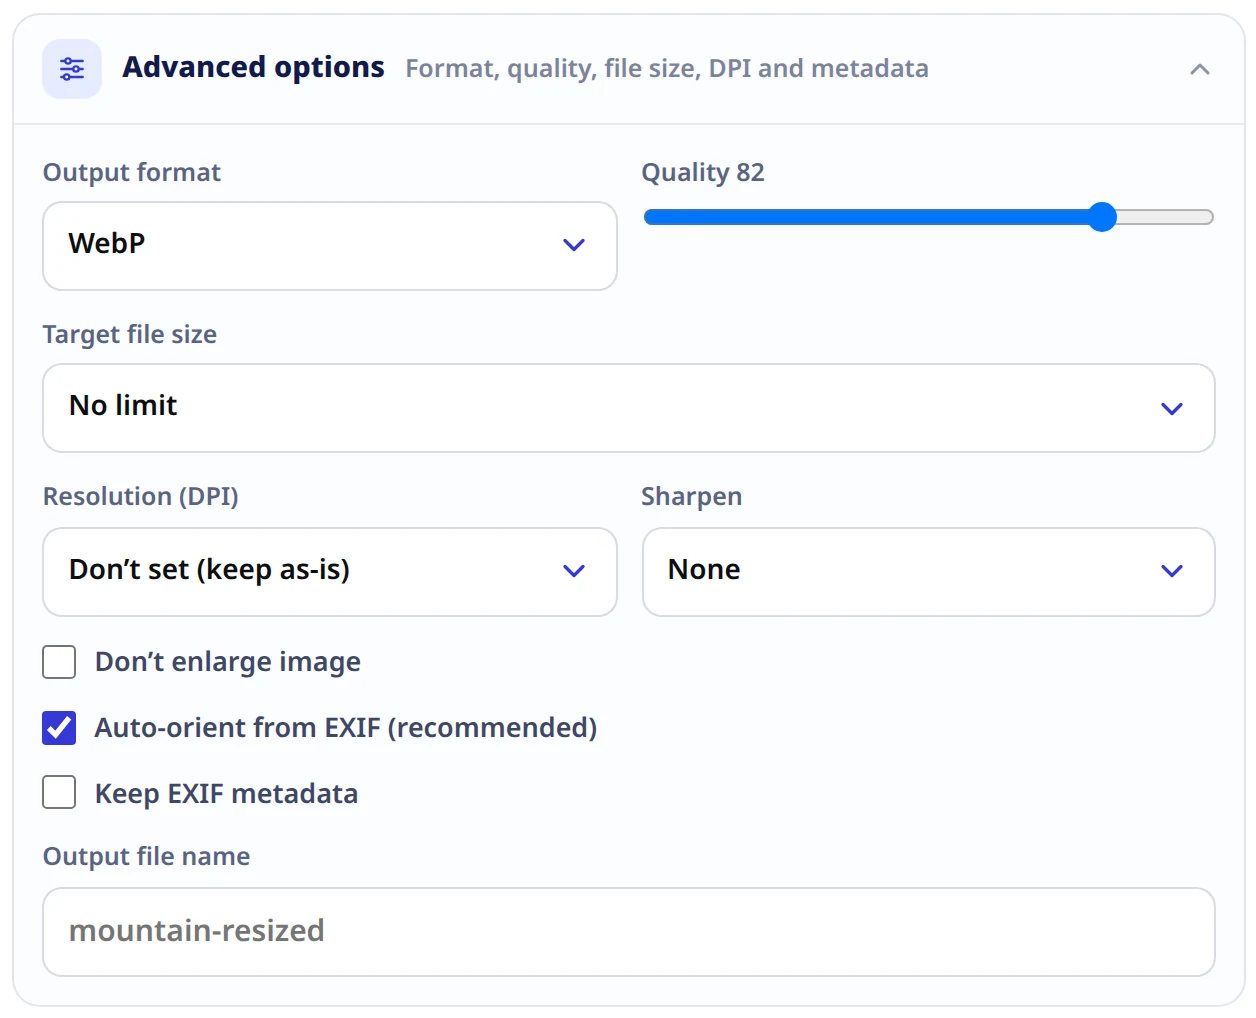
Output format and quality
Six formats — WebP, JPEG, PNG, AVIF, GIF and TIFF — and a quality slider that defaults to 82. It drives JPEG, WebP, AVIF and TIFF in the way you would expect.

Two formats behave differently, and it is worth knowing which. GIF ignores the slider entirely: we encoded the same picture at every setting from 1 to 100 and got byte-identical files. PNG responds, but not in the usual way — the slider controls how few colours the palette is reduced to, so PNG output here is not a lossless copy of the original pixels.
What the formats actually cost
On a detailed test photo at 1200×800 and the default quality:
| JPEG | 236 KB |
| TIFF | 270 KB |
| WebP | 273 KB |
| AVIF | 347 KB |
| PNG | 785 KB |
| GIF | 983 KB |
On this photographic test the two to pick between are JPEG and WebP; PNG and GIF were several times larger without a visible quality advantage. For screenshots, flat graphics or transparency, PNG can still be the better choice.
On quality, 82 is a good balance. Dropping to 70 saved about a quarter of the bytes on JPEG and a little under a third on WebP. Pushing to 95 roughly doubled both, for a difference you would struggle to see.
Two things to watch. PNG output is reduced to a palette of at most 256 colours — invisible on flat artwork, but it can band a photograph or a gradient, and there is no setting that turns the palette off. And an animated GIF comes back as a single still frame: the resize reads the first frame only, so use the original file if the animation matters.
Target file size
Instead of guessing at the quality slider, name a maximum and the tool searches for the quality setting that lands under it, trying a handful of encodings and keeping the best one that fits. Exactly right when a form says “maximum 500 KB” and you do not care how it gets there.
Two things to know. It applies to JPEG, WebP, AVIF and TIFF, so pairing it with PNG or GIF does nothing. And it can only go as small as the lowest quality setting allows. On a detailed 1200×800 photo we asked for 500, 200, 100 and 50 KB, and every one of JPEG, WebP and AVIF landed under the figure we named. At 20 KB, JPEG came back at 19 KB and AVIF at 18 KB — but WebP could not get below about 31 KB even at quality 1. If a target is that tight, bring the pixel dimensions down as well rather than relying on quality alone.
Don’t enlarge image
Stops the tool scaling anything up. Worth ticking whenever you are working through images of different sizes. We asked for 5000×3333 from a 3000×2000 photo: with the box ticked it came back at its original 3000×2000 rather than being blown up, while a smaller target still went through normally. It clamps each side on its own rather than cancelling the resize, so a target larger on one side and smaller on the other — 5000×1500 from that same photo — came back 3000×1500.
Enlarging never adds detail. If you need a genuinely bigger image, the upscaler is the tool for that.
Resolution (DPI)
Writes a dots-per-inch figure into the file. This is metadata only — it does not change the pixel dimensions or the appearance at all. It tells print software how large to lay the image out on paper. Set it to 300 when a printer or a publisher has asked for 300 DPI, and otherwise leave it alone; on screen it is ignored entirely.
One consequence worth knowing: choosing a DPI causes the file’s original metadata to be written back out too, so an image will keep its camera and location tags even with Keep EXIF metadata unticked. If stripping that data matters more than the DPI figure, leave this on its default.
Sharpen
Adds low, medium or high sharpening after the resize. A touch of it helps when you have scaled a photo well down, because shrinking softens fine detail. Skip it on graphics and screenshots, where it makes edges look brittle.
Auto-orient and metadata
Auto-orient reads the rotation tag that phones write and turns the picture upright. Leave it on — we tested a photo carrying the sideways rotation tag, and with it on the pixels were physically turned upright; with it off they were not.
Keep EXIF metadata retains the camera, date and location information that is otherwise removed. Leave it off unless you specifically need it: the default strips your camera model and GPS position from anything you share.
Output file name
The name the download is saved under. Left empty it uses your original name with -resized appended, and the extension follows the output format you chose. Worth setting when you are producing several sizes of the same picture and would otherwise end up with a folder of near-identical names — putting the dimensions in, hero-1200x800, saves working out later which file is which.
Step 3: download
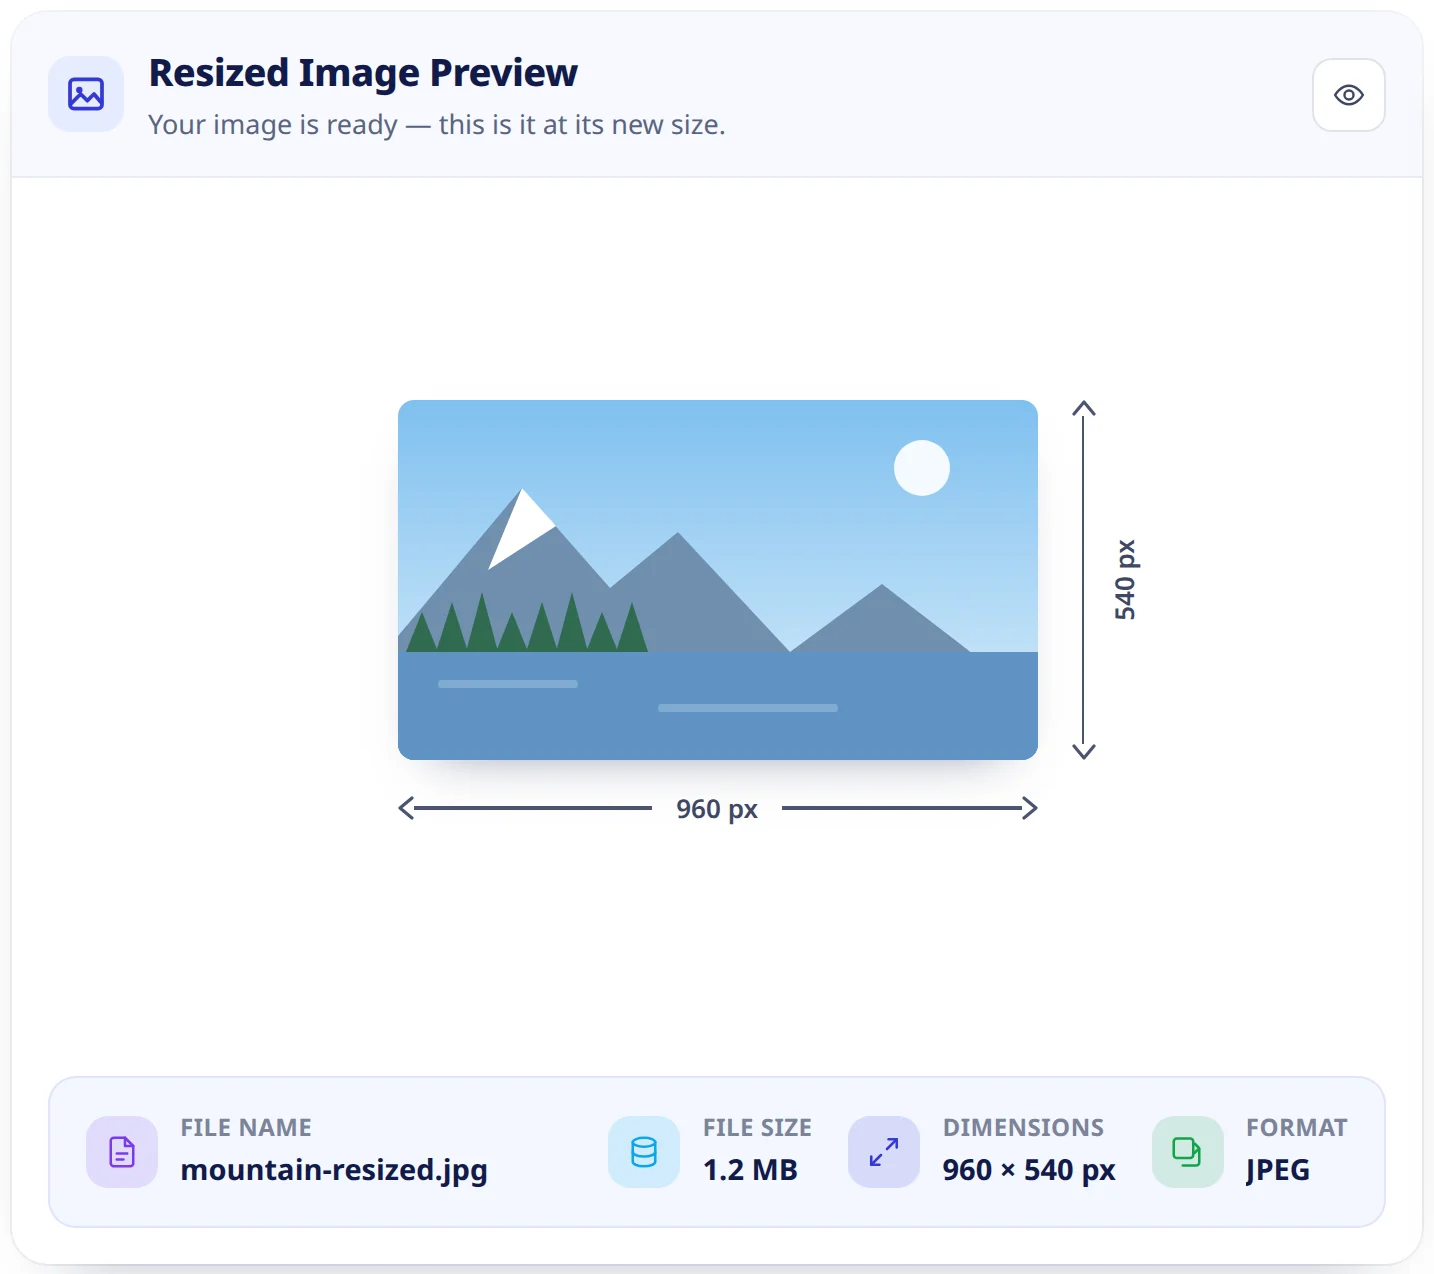
The result screen shows the finished picture with its real dimensions, format and file size — not the estimate.
Beside it, the ways to keep it: a download button that names what you are getting, Copy Image straight to the clipboard, Change Size to go back and try different numbers on the same picture without re-uploading, and Resize Another to start over.
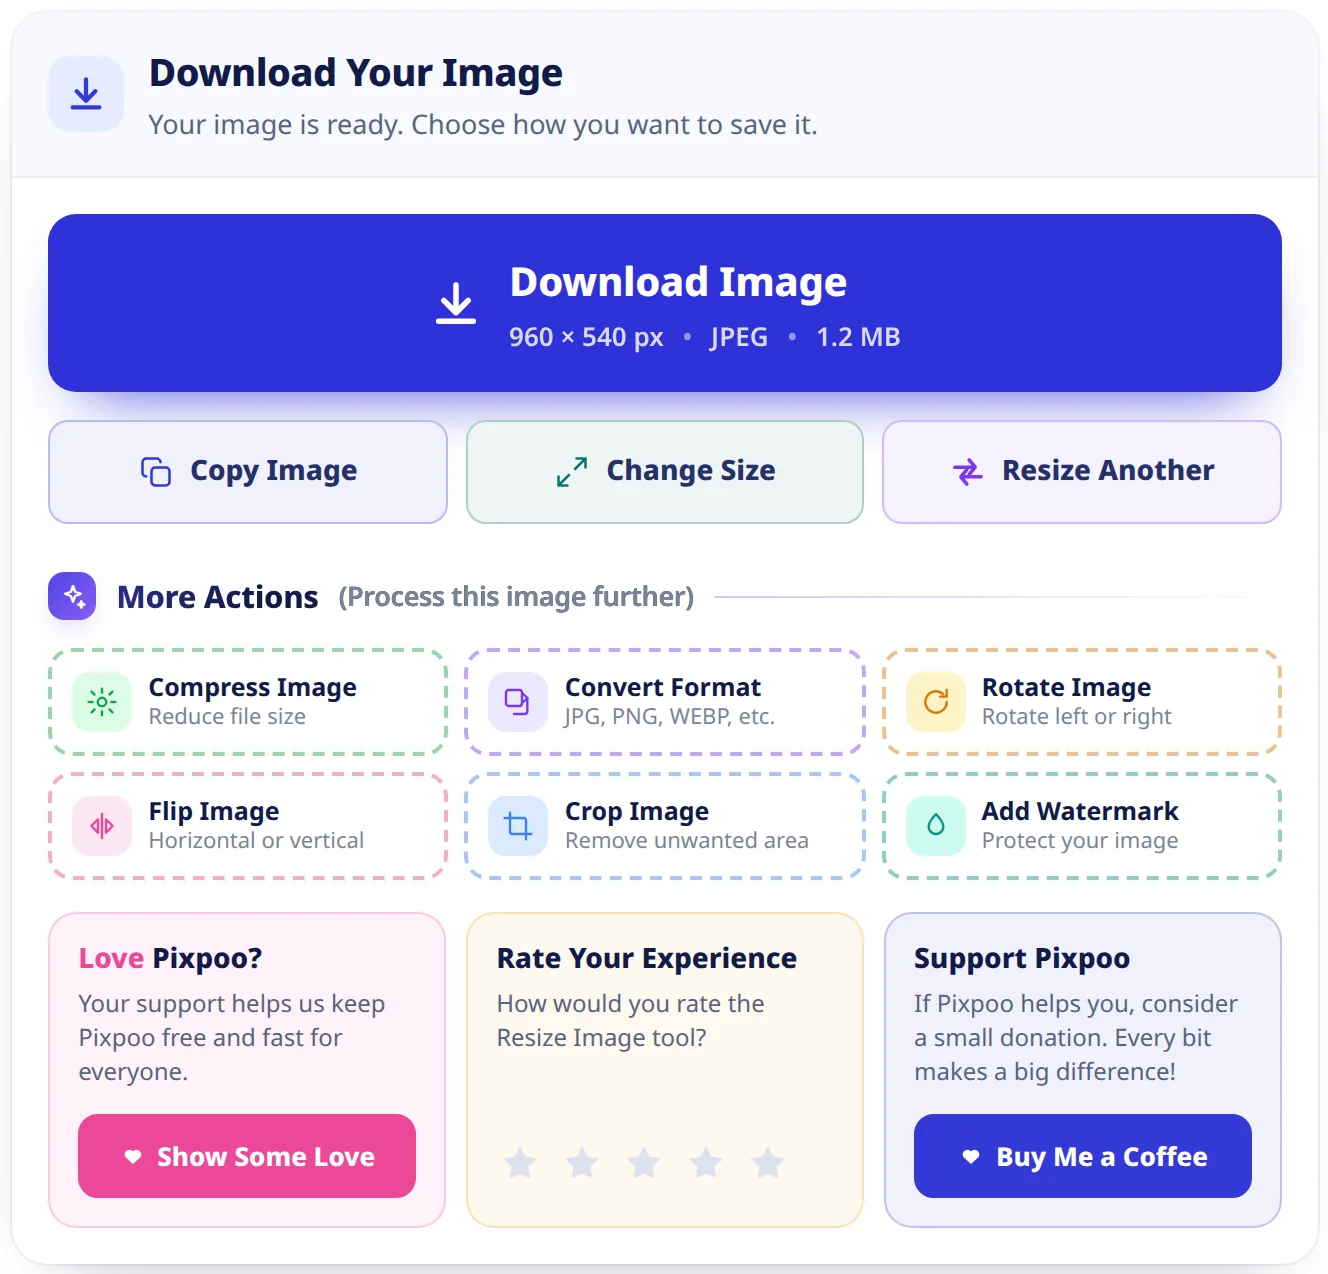 More Actions hands the finished file to another tool — compress it, convert it, crop it, watermark it — without a second upload.
When resizing is the right fix
Almost always because something downstream has a constraint the original does not meet:
- A profile picture or product photo that has to be an exact pixel size.
- A social post that needs the platform’s canvas — a square, a story, a cover banner.
- Photographs straight off a camera or phone that are far larger than the page showing them.
- An upload form that rejects anything above a set width, height or file size.
- Several sizes of one picture — a thumbnail, a card image and a hero — made one after another from the same original.
The honest limits
Enlarging cannot invent detail: asking for more pixels than the original has gives you a softer version of the same picture. Uploads are capped at 25 MB. PNG output is palette-reduced rather than lossless. An animated GIF is flattened to its first frame. And a target file size can only push quality so far before the pixel dimensions have to come down as well.
One more thing worth being straight about: the image tools do their work on a server. Your file is uploaded, held in memory for the operation, and discarded — it is not stored permanently, never written to disk and never shared. The PDF tools work differently and run entirely in your browser.
Frequently asked
Is it free?
Yes. No sign-up, no watermark and no usage limits on the free tier.
Will resizing lose quality?
Making an image smaller discards pixels, which is lossless to look at because there is less to show. Making it larger cannot add detail — that is what an upscaler is for. The bigger quality decision is the output format and the quality slider, not the resize itself.
Does it work on a phone?
Yes. It runs in any modern browser on Android and iOS with nothing to install, and you can resize straight from your camera roll.
What is the largest image I can resize?
Uploads are capped at 25 MB.
Can I resize several images at once?
Not in one pass — the tool takes one image at a time. Change Size on the download screen sends you back to the options with the same picture loaded, so producing several sizes of one image does not mean re-uploading it.
Try the Resize Image tool, or browse the rest of the Image Toolkit.